Installing Unity, creating and running scripts
Welcome to the first Unity C# tutorial! To get started, you will need to install Unity on your computer. Since the engine is updated regulary, the engine developers have created Unity Hub, which allows you to design various games using different engine versions. There is a simple explanation for that: a game that's been built using Unity 2018.4.22f1 may not run that great (or at all!) with Unity 2019.2.2f1, for example.
So, go to https://unity3d.com/get-unity/download, and then click the green "Download Unity Hub" button at the top of the screen. You will only need to do this once, because the Hub will update itself whenever its developers release a new version.
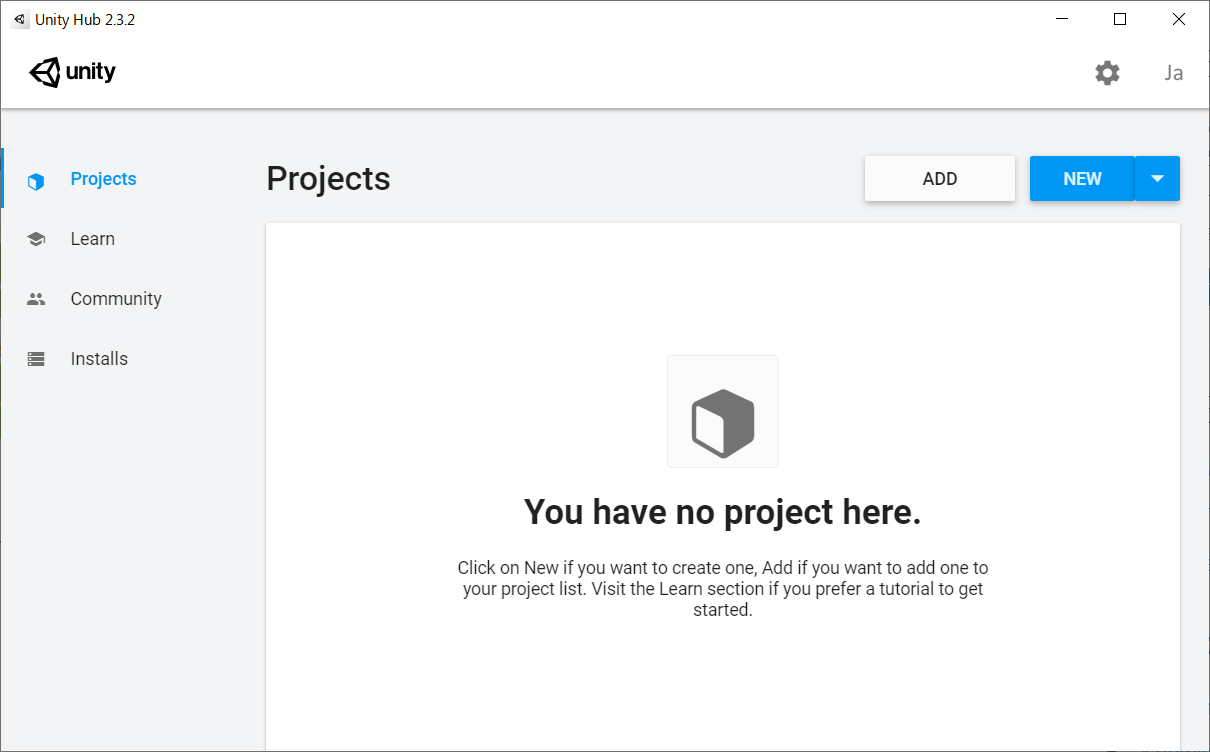
Start Unity Hub, and then click the "Projects" button from the menu on the left side of the window. If you don't have an active Unity project, you will see an image that looks like the one below.
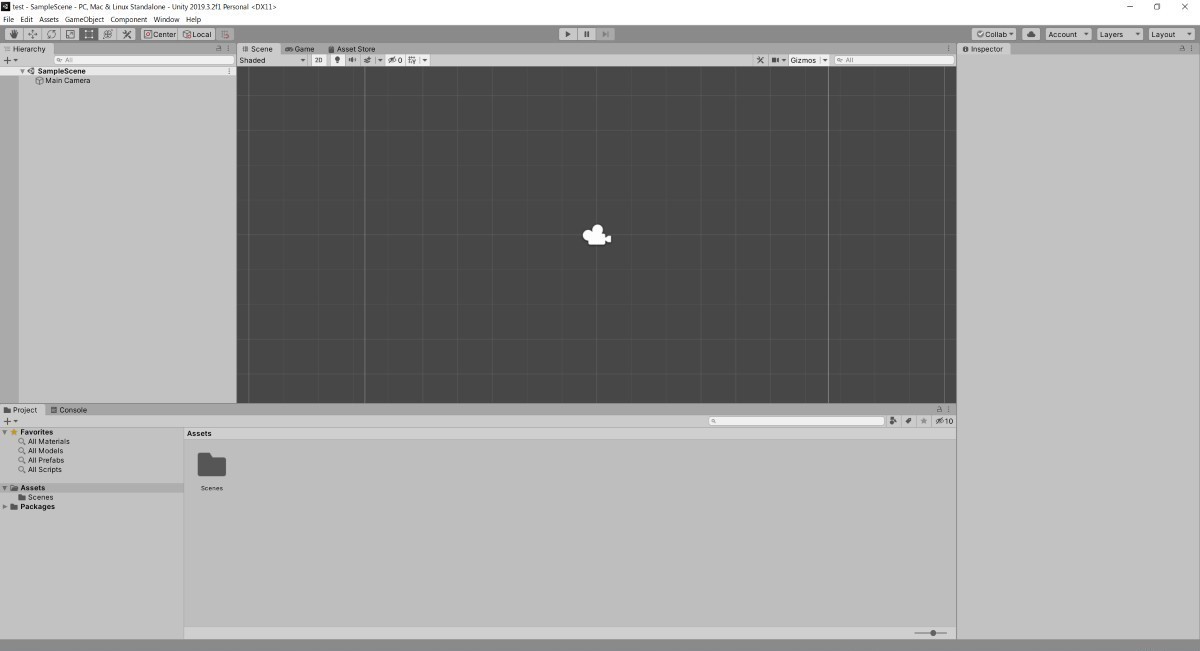
Click the blue "New" button in the upper right corner of the screen. Choose a 2D template, give your project a name, and then click the "Create" button at the bottom of the screen. Wait a bit, until the entire game design environment is set up; if everything went okay, you should see the Unity editor.
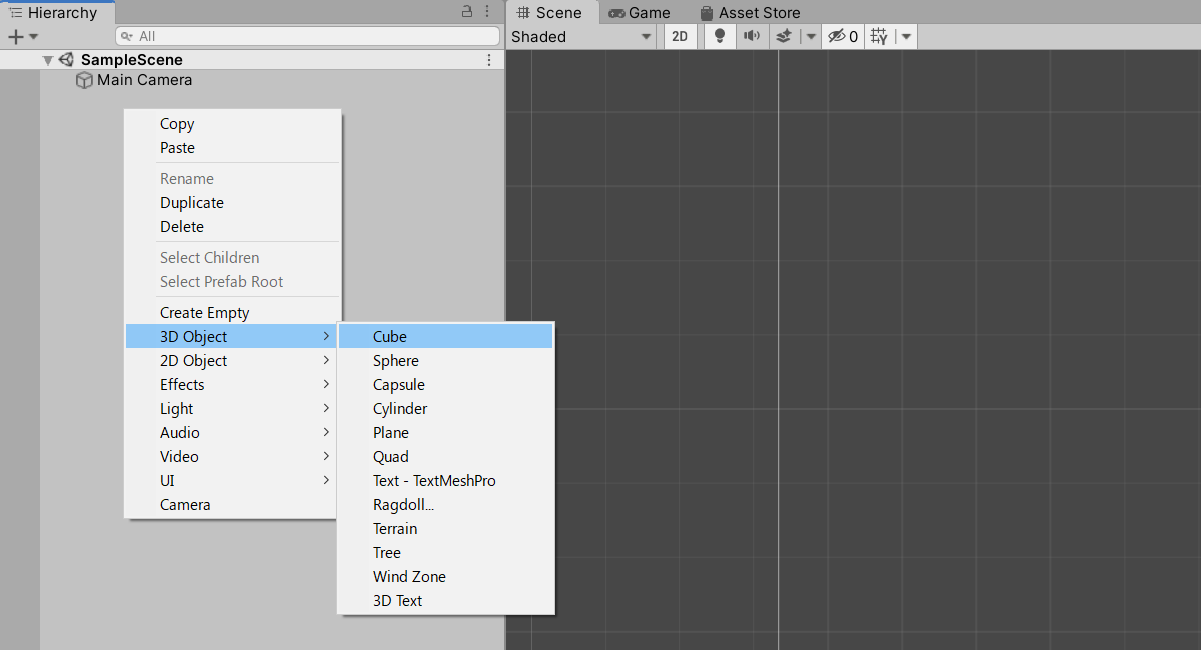
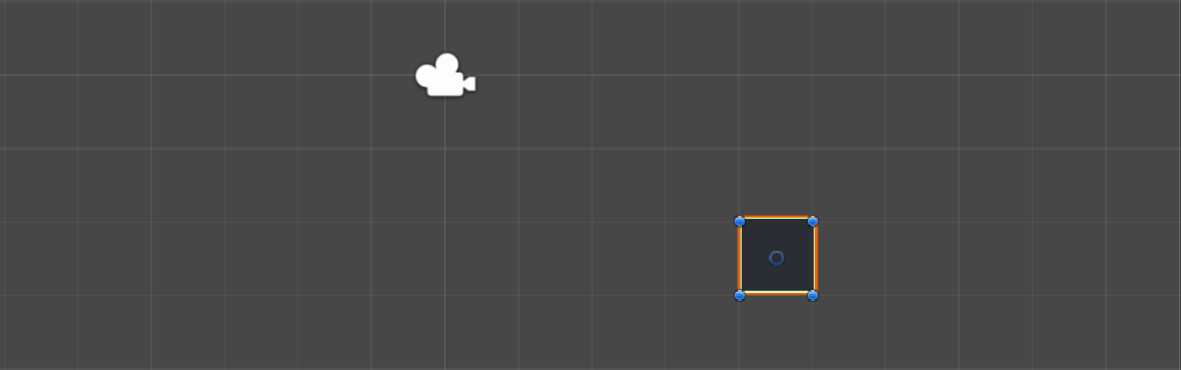
Right click the Hierarchy view, and then choose 3D Object, Cube.
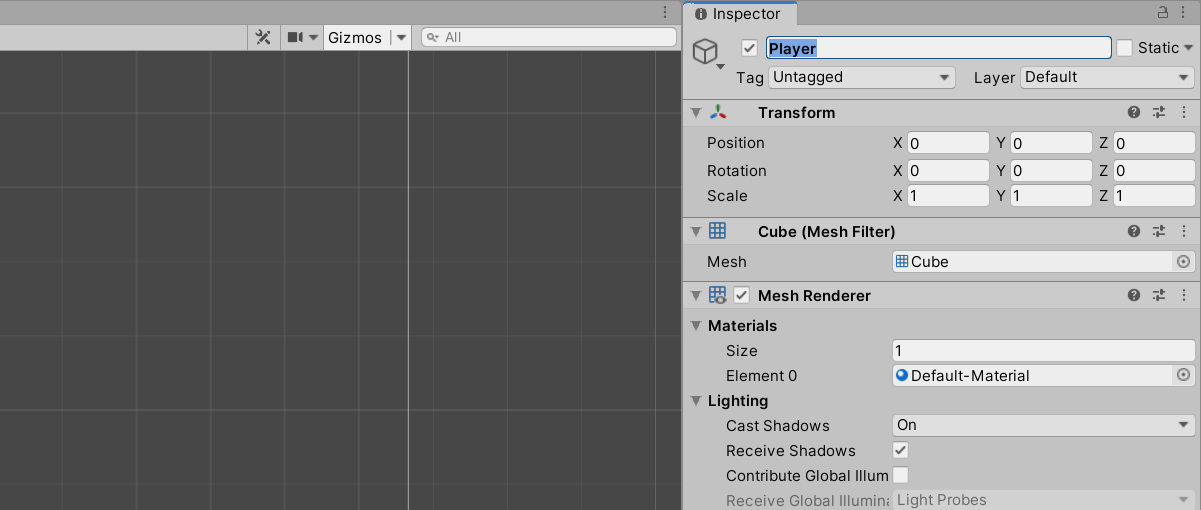
The cube will be created and added to our level. Mouse the mouse pointer to the right side of the screen, and then change the name of the cube to "Player" in the Inspector view.
If your Unity windows don't look like mine, choose the "Default" layout by making use of the dropdown menu in the upper right corner of the screen.
By default, our player (the cube) will be placed in the center of the screen. Click the player, and then drag it in a different position. Here's how it looks here after being dragged.
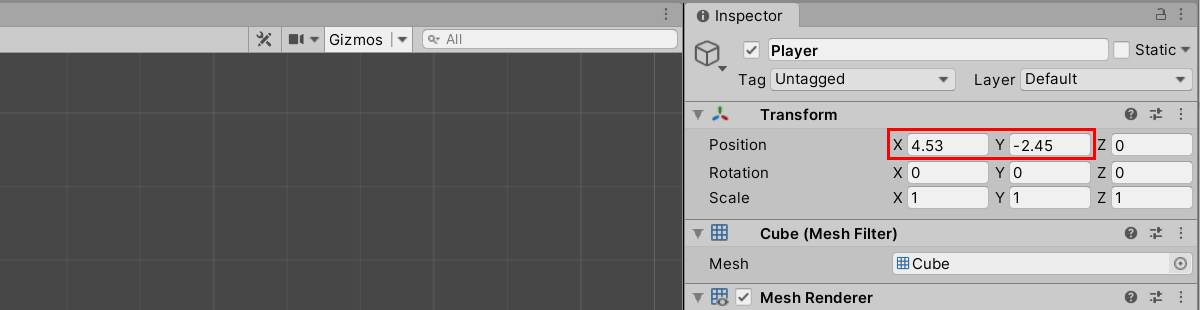
You will notice that some of player's "Transform" parameters, which set its position, rotation and scale, have changed. Specifically, its x and y positions aren't zero anymore.
We are going to create a C# script which resets player's x and y positions. Right click "Assets" in the Project view, and then choose Create, C# Script. Give your script a relevant name; I chose PlayerReset.
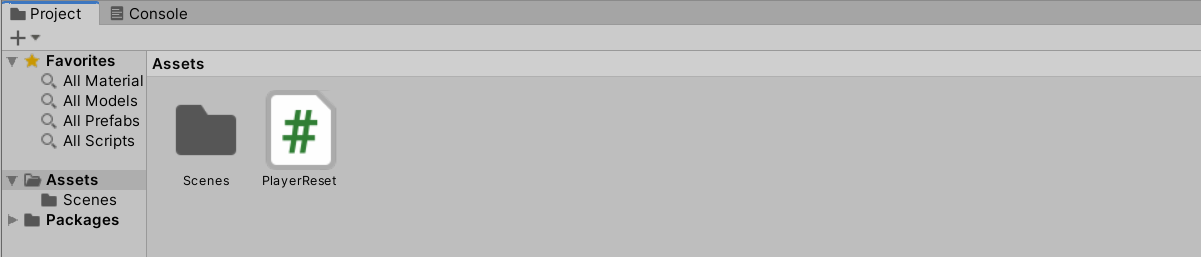
If you select the newly created script, you will see a preview of its source code in the Inspector. That's a tiny window which doesn't allow us to too many things, tough; we will use the fully featured Visual Studio IDE to write and edit our code.
Before we begin doing that, it is important to understand that the script won't run at all if we don't attach it to an object. So, drag the PlayerReset script from the Project view over the player object (our cube) in the Hierarchy view. If everything works as expected, you will find the reference to the attached script at the bottom of the Inspector view.

Double click the PlayerReset script in the Project view to open it inside Visual Studio. If VS doesn't start, you may need to download and install Visual Studio Community Edition from here: https://visualstudio.microsoft.com/vs/community/
Here's how the script file should look like:
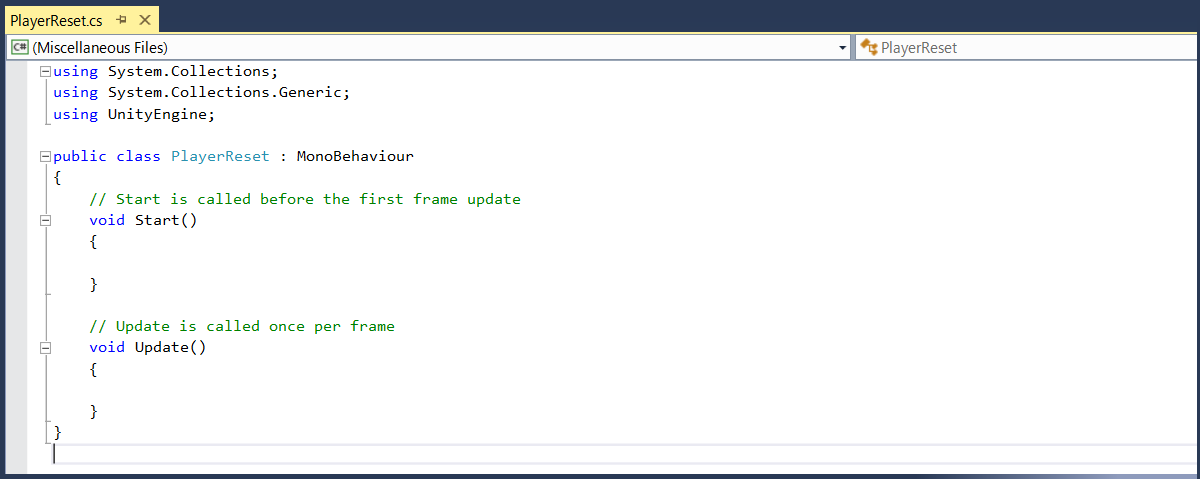
We will explore all its details in the following tutorial, but for now let's just add the line of code that was highlighted below.
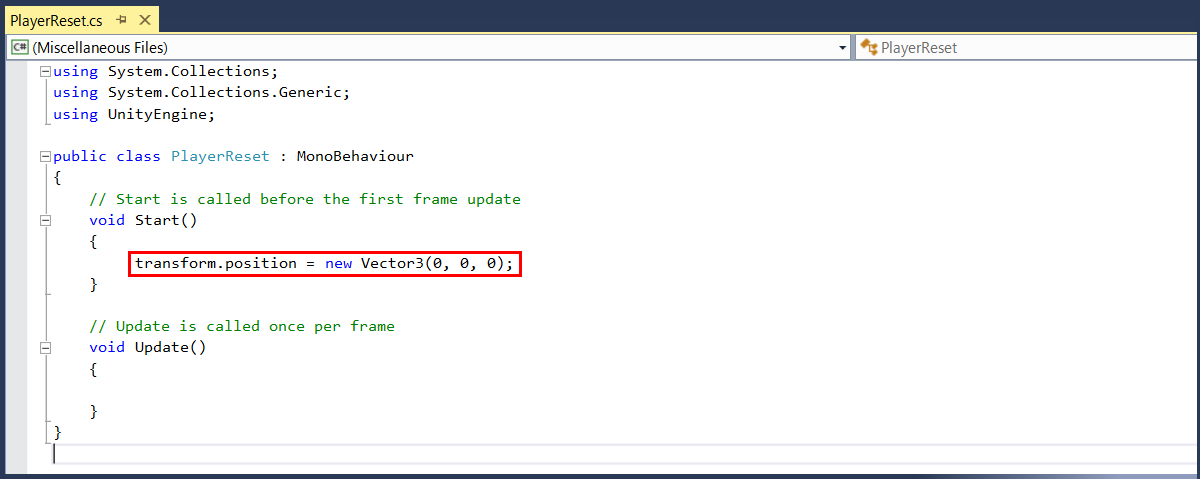
Save the file, return to the Unity editor, and then click the Play button at the top of the screen; you will see that the cube will be moved to the center of the window. You don't have to trust me on this, of course; just take a look at its coordinates in the Inspector view.Press the Play button again to stop the engine. We've covered quite a few things in this tutorial, and I'm sure that you are going to love the next one even more!
